6 Tips Rotisserie Grilling Setup For Perfect Home-Cooked Meals
Mastering rotisserie grilling at home involves choosing the right equipment, setting up your grill correctly, selecting the best cuts of meat, mastering heat management, and maintaining your grill for optimal performance and safety.
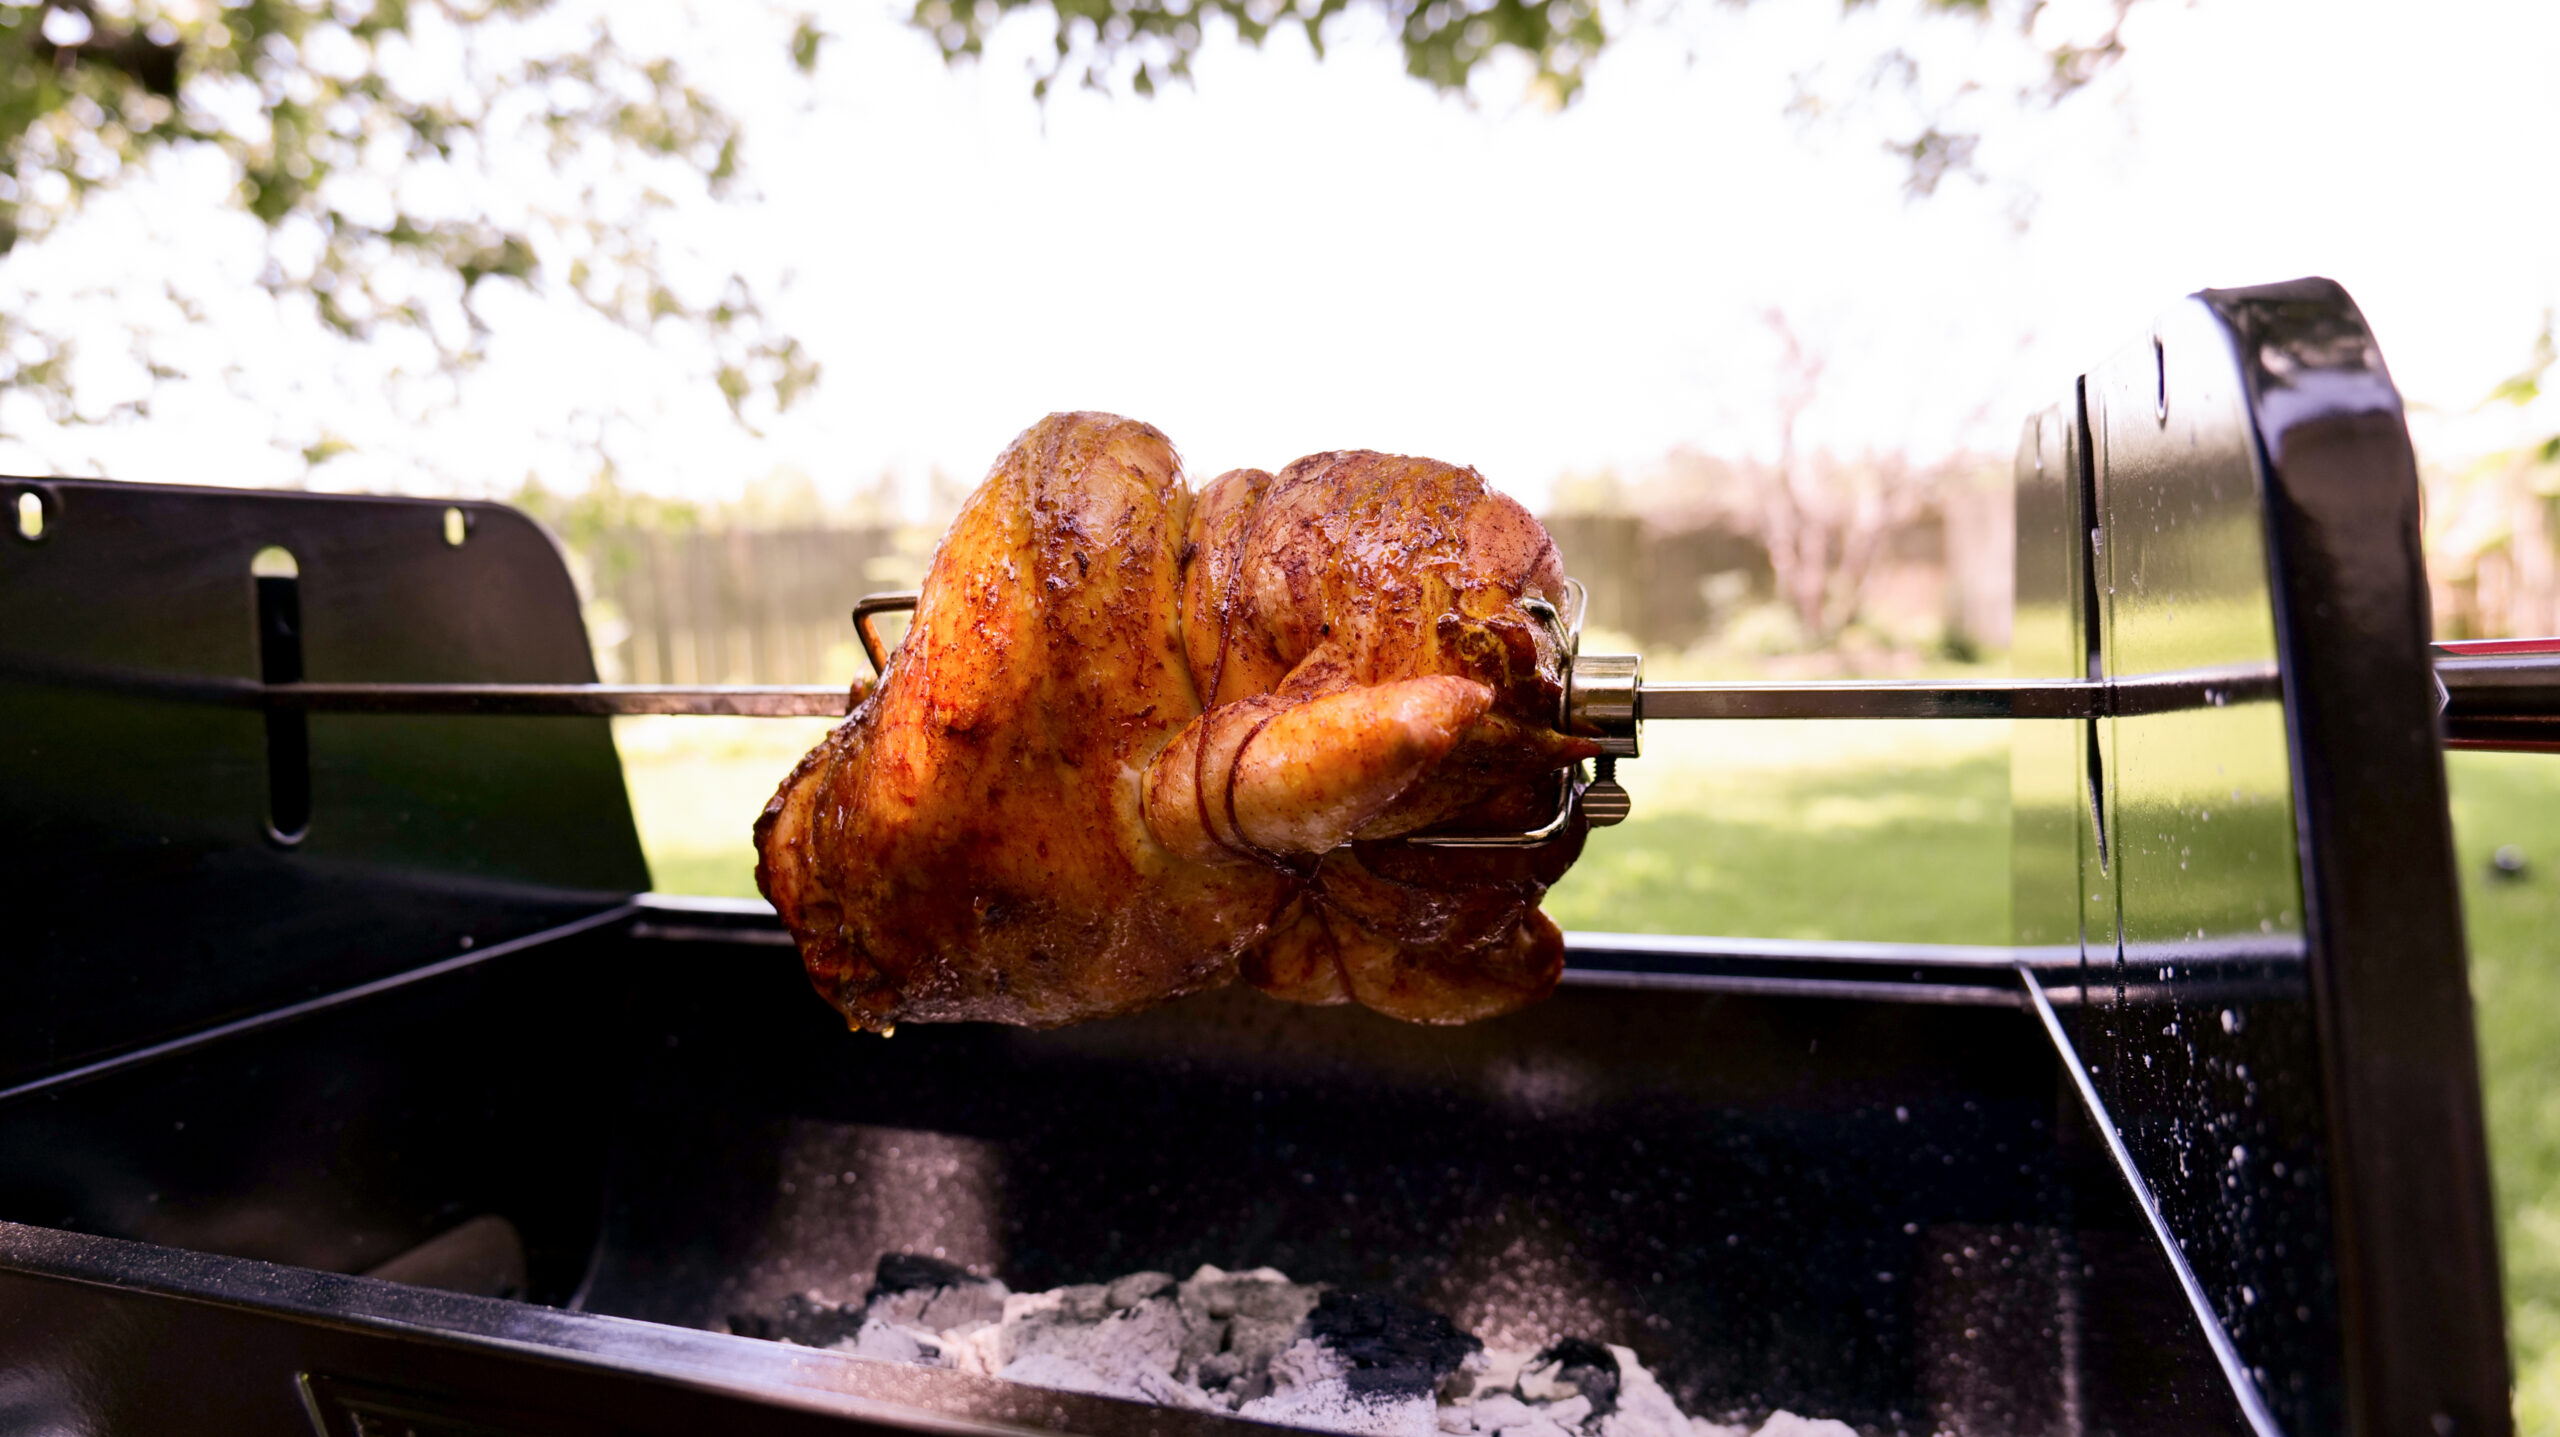
Diving into the world of rotisserie grilling can transform your home cooking, offering flavors and textures that are hard to achieve with other methods. However, setting up your grill correctly is crucial for safety and to ensure delicious results every time.
Disclosure: As an Amazon Associate, this site earns from qualifying purchases. Thank you!
Choosing the Right Rotisserie Equipment
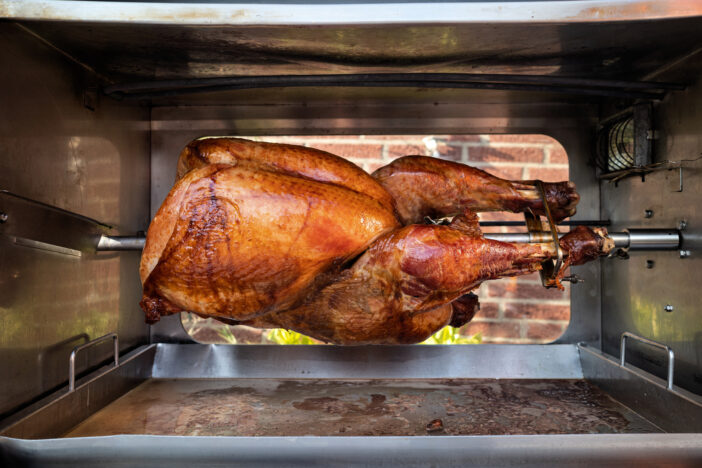
Venturing into rotisserie grilling signals a step towards enhancing your home cooking. To excel in this method, selecting the appropriate equipment is paramount. Here’s a breakdown of essential features to consider.
- Durability and Material: Look for kits made from stainless steel. They’re not only durable but also resist corrosion, ensuring your rotisserie setup lasts through countless cookouts.
- Motor Quality: A powerful and reliable motor ensures even cooking by continuously rotating the food at a steady pace. Check for motors that can handle the weight of your typical roasts or whole birds.
- Adjustable Spit Rods: Your kit should have a spit rod that’s adjustable in length. This flexibility allows you to fit various sizes of meat or poultry, making it versatile for any meal.
- Forks and Balancers: Ensure the kit includes sturdy forks to securely hold the food in place. Balancers help in evenly distributing the weight for a smooth rotation.
- Compatibility: Make sure the kit is compatible with your grill model. It’s a small detail that makes a big difference in ease of use and overall efficiency.
- Heat Source and Control: Gas grills provide you with immediate heat control, making it easier to maintain the medium to low indirect heat needed for rotisserie cooking. Charcoal grills, on the other hand, offer a more authentic smoked flavor but require skill in managing fire and temperature.
- Setup Complexity: Gas grills often come with specific rotisserie burners and accessories, making setup straightforward. Setting up a charcoal grill, however, can be a bit more nuanced. You’ll need to master the art of building indirect heat zones, which might involve trial and error.
- Maintenance and Cleaning: Gas grills generally require less cleanup compared to charcoal grills, which need ash disposal and more frequent grate cleaning due to the coal residue.
- Flavor Profile: If you’re after that classic, smoky barbecue taste, a charcoal grill will deliver precisely that. Gas grills are more about convenience and control, providing a cleaner, albeit less intense, flavor to your rotisserie dishes.
Choosing the right rotisserie setup boils down to your personal preference, the level of convenience you desire, and the flavor profile you’re aiming for. Regardless of your choice, the journey to mastering rotisserie grilling will surely add a new dimension to your cooking repertoire.
Preparing Your Rotisserie Grill
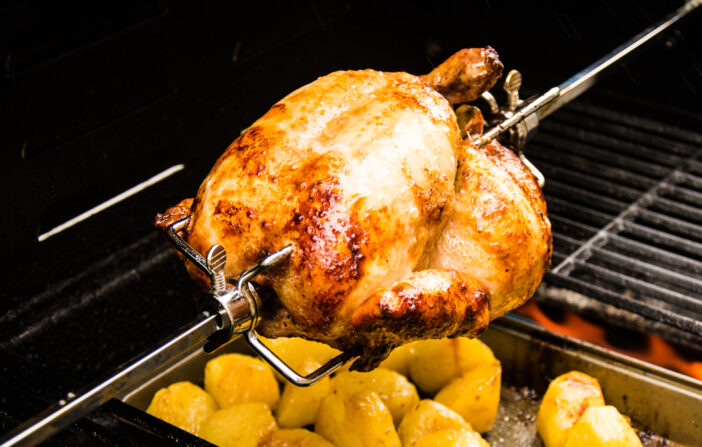
Embracing rotisserie grilling transforms simple meals into culinary delights, but first, let’s get your grill set up correctly. Follow these tips to ensure your next rotisserie meal is nothing short of spectacular.
- Choose the Right Heat Source: Depending on your grill, you can use either charcoal or gas for rotisserie cooking. For charcoal grills, indirect heat is key. Arrange coals on either side of the grill, leaving a space in the middle where no coals are directly underneath the food. Gas grill users should turn on burners on either side of the grill, not directly under the food.
- Install the Rotisserie Spit Properly: Ensure the spit is securely attached to the grill. Most rotisseries come with a motor that needs to be connected to a power source. Make sure it’s in a safe, stable position and can rotate without any obstructions.
- Use a Drip Pan: Place a disposable aluminum pan under the spit to catch drippings. Not only does this make cleanup easier, but it also helps prevent flare-ups. Fill the pan with a little water to help with temperature control and add some moisture back into the air, enhancing the meat’s juiciness.
- Preheat the Grill: Before you start cooking, preheat your grill with the rotisserie spit in place. This helps ensure your food cooks evenly. For charcoal grills, let the coals burn until they’re covered with gray ash. On gas grills, preheat on high for 10-15 minutes, then adjust the temperature according to your recipe.
- Check for Stability: Before igniting your grill, make sure the rotisserie attachment is securely fastened and balanced. An unbalanced rotisserie can cause uneven cooking or wear down the motor prematurely.
- Ensure Proper Clearance: The rotisserie needs space to rotate freely. Double-check that no parts of the food or rotisserie gear touch the grill’s lid or sides. Improper clearance could result in uneven cooking or damage to your grill.
- Test the Motor: Run the motor for a few minutes before you start cooking to ensure it’s working properly. Listen for any strange noises that could indicate a malfunction.
- Wear Proper Protective Gear: Always use heat-resistant gloves when handling the rotisserie spit or when adjusting the grill setup. The grill, spit, and food can all become extremely hot, posing a risk of burns.
- Keep a Fire Extinguisher Handy: As with any type of grilling, it’s wise to have a fire extinguisher nearby in case of flare-ups or other emergencies. Better safe than sorry!
Preparing Your Food for the Rotisserie
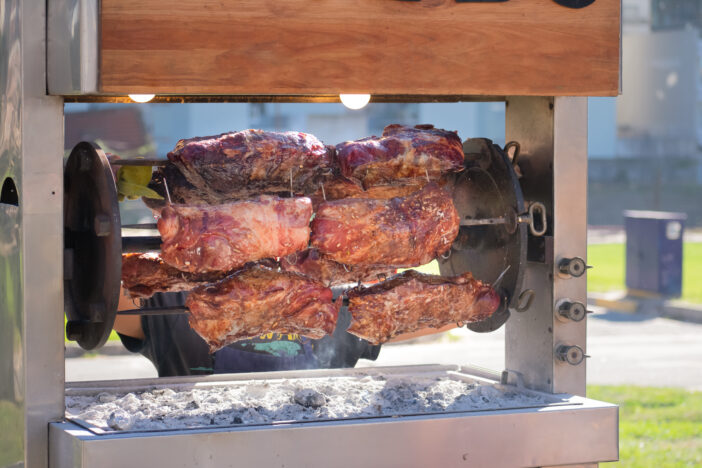
Before you let your grill work its magic, prepping your food correctly is key to unlocking all those amazing flavors and textures. Here’s how to get everything ready for a rotisserie feast.
Selecting the Best Cuts for Rotisserie Cooking
When you’re diving into rotisserie grilling, not all cuts are created equal. Your best bets are those that benefit from slow-cooking to become wonderfully tender.
- Rolled Boneless Rib Roast and Tenderloin Roast: These are top choices for their rich marbling and tenderness. Their uniform shapes mean they cook evenly, making them practically foolproof for the rotisserie.
- Avoid Tougher Cuts: It’s generally a good idea to steer clear of cuts from the round and chuck sections. They lack the fat and marbling needed for that melt-in-your-mouth texture. However, don’t write them off completely. With a good marinade (more on that next) and careful cooking, even these tougher cuts can be transformed.
Marinades and Seasonings for Flavorful Results
Marinades aren’t just about adding flavor—they’re also key to tenderizing less forgiving cuts of meat. A great marinade or seasoning can make all the difference, so here are some tips to maximize taste:
- Use Acidic Components: Ingredients like vinegar, lemon juice, or wine break down tough muscle fibers, making meat more tender. Combine these with oils, herbs, and spices to both tenderize and infuse your cut with delicious flavors.
- Marinate for Hours: To really let the flavors penetrate and tenderize the meat, marinate for several hours. If you’re working with a larger piece like a turkey or a tough cut, overnight marination can work wonders.
- Brining: Particularly for poultry, brining (soaking in a saltwater solution) can significantly improve moisture and texture. A basic brine mixture includes water, salt, and often sugar, with times varying depending on the size of your bird. A slow brine for a turkey, for instance, involves about 1 hour per pound.
By choosing the right cuts and taking the time to marinate or brine, you’re setting the stage for a rotisserie grill session that’s bound to impress. Whether it’s a tenderloin roast basting in its juices or a turkey seasoned to perfection, the prep work pays off in each flavorful bite.
Mastering the Art of Rotisserie Grilling
Taking your home grilling game to the next level means getting serious about rotisserie grilling. Let’s dive into the techniques that’ll make your rotisserie meals legendary.
Balancing and Securing the Spit
First up, balance is key. Here’s how to get it right:
- Secure the Meat Properly: Start by sliding one fork onto the spit rod and tightening it. Insert the spit through the center of the meat, securing it with the other fork. Both ends must be tight to prevent any wobble.
- Test for Balance: Before you begin grilling, ensure your meat spins evenly. Balance it by adjusting its position or the spit forks, and avoid any heavy side being faster to the bottom. A well-balanced spit means even cooking.
- Check the Rotation: With your meat secured, turn on the rotisserie motor. It should rotate smoothly, without any hitches if it’s jerky or uneven, re-adjust the balance.
Heat Management for Perfect Cooking
Managing your heat is crucial for that perfect roast. Here’s how:
- Maintain Consistent Temperature: Whether you’re using a gas or charcoal grill, aim for a steady temperature around the meat. High, direct heat can dry out and burn the exterior before the inside is done.
- Use a Drip Pan: A drip pan isn’t just for catching juices; it helps regulate temperature. Fill it with a bit of water, placing it under the meat to stabilize the grill’s interior temperature and add moisture.
- Indirect Heat is Your Friend: Situate coals or burners so the heat surrounds but doesn’t directly cook the meat. This method gives you a gentle, even cook without flare-ups.
Rotisserie Cooking Times and Temperatures
Finally, let’s talk details. Every meat type has its ideal temp and time:
- Poultry: Birds require internal temperatures of 165°F for safety. A whole chicken might take 1 ½ to 2 hours on medium heat. Remember, larger birds require careful monitoring to avoid underdone areas.
- Beef and Pork: Medium-rare beef hits perfection at 135°F, usually after about 1 ½ hours, depending on the cut’s size. Pork should reach 145°F. Consider the thickness of your roast—it impacts cooking time significantly.
- Constant Monitoring: Use a reliable meat thermometer to check internal temps without disturbing the setup. Remember, cooking times can vary, so adjustments based on the size and weight of your meat are crucial.
Advanced Rotisserie Techniques and Tips
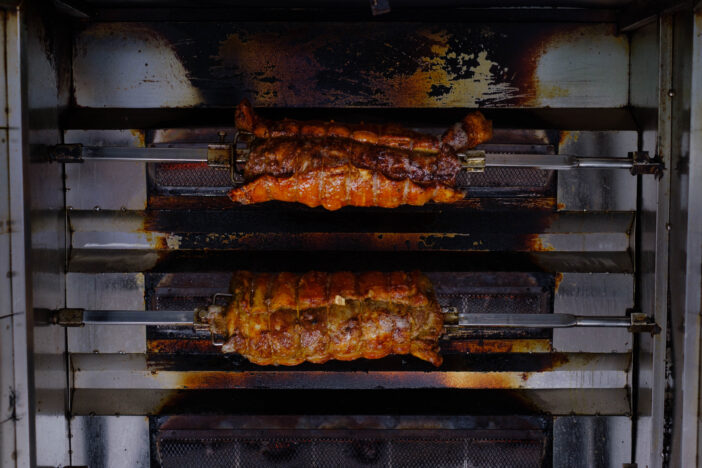
Taking your rotisserie grilling to the next level requires some insider knowledge. Below, you’ll find strategies that’ll help you master the art of rotisserie cooking, making your backyard the envy of the neighborhood.
Using a Rotisserie Grill Basket for Vegetables
Expanding your rotisserie repertoire beyond meats can transform your entire meal. A rotisserie grill basket is your key to unlocking a world of perfectly grilled vegetables. These baskets attach to the spit, allowing vegetables to roast in the indirect heat, caramelizing their natural sugars and enhancing flavors. For the best results, choose a variety of veggies like peppers, zucchini, and onions. Cut them into similar sizes for even cooking, and toss them lightly in oil and your favorite seasonings before placing them in the basket. Remember, the rotation ensures they cook evenly, yielding a crispy, delightful side dish that complements any main course.
Infusing Smoke Flavor into Your Rotisserie Dishes
Enhance your rotisserie dishes with smoky depth. For charcoal grills, add wood chips directly to coals. Use apple, hickory, or mesquite for distinct flavors. For gas grills, place soaked wood chips in a smoker box or foil pouch on the burner. Let the meat absorb the smoke slowly for rich, gourmet taste.
Cleaning and Maintenance
After mastering the art of rotisserie grilling, keeping your equipment clean and well-maintained is the secret sauce to ensuring its longevity and performance. Let’s dive into how you can keep everything in top-notch condition.
- Disconnect and Disassemble: Before anything else, ensure the grill cools down. Then, disconnect the rotisserie kit and carefully take apart the spit rod and meat forks.
- Soap and Water: Sometimes, simplicity wins. Wash the spit rod, meat forks, and motor housing (if waterproof) in warm, soapy water. This will remove any stubborn grease and food particles clinging to them.
- Rinse and Dry: After washing, give them a good rinse under hot water. Why hot water? It helps in evaporating the moisture faster. Then, pat them dry with a clean cloth or let them air dry.
- Check for Wear and Tear: Inspect the motor and other parts for signs of wear or damage. If the motor seems to have seen better days, consider replacing it. An up-to-date model can be found online, ensuring you’re always ready for your next grilling session.
- Storage Matters: Once everything is clean and dry, store your rotisserie kit in a dry and secure place. This not only protects it from the elements but also keeps it ready for your next grilling adventure.
- Regular Checks: Make it a routine to inspect your rotisserie kit before use. Look out for any rust or damage, especially on the spit rod, which is crucial for even cooking.
- Lubricate Moving Parts: The motor and spit rod can benefit from occasional lubrication. Use a food-safe lubricant to ensure smooth operation and to prevent any parts from sticking or seizing up.
- Avoid Harsh Chemicals: When cleaning, avoid using harsh chemicals that can damage the metal or compromise safety. Stick to mild dish soap and avoid abrasive sponges that can scratch surfaces.
- Invest in a Cover: If your grill and rotisserie kit are stored outdoors, consider investing in a high-quality grill cover. This can shield your equipment from harsh weather conditions and prevent rusting.
- Immediate Cleanup: While it might be tempting to leave cleaning for later, cleaning your rotisserie kit immediately after use prevents the build-up of grease and char. This not only makes cleaning easier but also preserves the integrity of your equipment.
Frequently Asked Questions
How do I set up my grill for rotisserie cooking?
To set up your grill for rotisserie cooking, ensure you have a suitable rotisserie kit compatible with your grill model. Securely attach the motor and spit rod, check for stability and clearance, preheat the grill, and place a drip pan under the spit to catch drippings.
What are the best cuts of meat for rotisserie cooking?
The best cuts of meat for rotisserie cooking include Rolled Boneless Rib Roast, Tenderloin Roast, whole birds, and portions of beef, lamb, veal, and pork. Ensure the meat portions fit well on the spit and do not exceed the manufacturer’s weight rating.
How can I ensure my grill is safe for rotisserie cooking?
Ensure your grill is safe for rotisserie cooking by stabilizing the spit rod, testing the motor before use, wearing protective gear, keeping a fire extinguisher readily available, and never leaving the grill unattended while in use.
How do I clean and maintain my rotisserie grill?
Clean and maintain your rotisserie grill by disassembling the kit after use, washing parts with soap and water, checking for wear and tear, lubricating moving parts as needed, and covering your grill when not in use. Regular maintenance checks and immediate cleanup after every use will prolong the life of your equipment.
What techniques should I master for expert rotisserie grilling?
Mastering rotisserie grilling techniques involves balancing and securing the meat on the spit, managing heat sources effectively, understanding different types of meat’s cooking times and temperatures, using a rotisserie basket for vegetables, and experimenting with smoke flavors to enhance taste.
How can I enhance the flavor of my rotisserie dishes?
Enhance the flavor of your rotisserie dishes by selecting quality cuts of meat, utilizing marinades and seasonings suited to each type of meat, and experimenting with smoke infusion for an added gourmet taste level. Regularly basting the meat during cooking can also help improve flavor and juiciness.


