5 Differences Smashburger vs Traditional Burger for the Best Burger Experience
Smashburgers and traditional burgers offer distinct flavors and textures. Smashburgers feature a crispy, thin patty with a juicy interior, cooked quickly on a griddle for a caramelized crust. Traditional burgers, on the other hand, boast a thicker, juicier patty cooked to perfection on a grill, focusing on the quality and natural flavors of the meat. Choose between innovation and crispiness with smashburgers or the classic appeal of traditional burgers to elevate your burger experience.
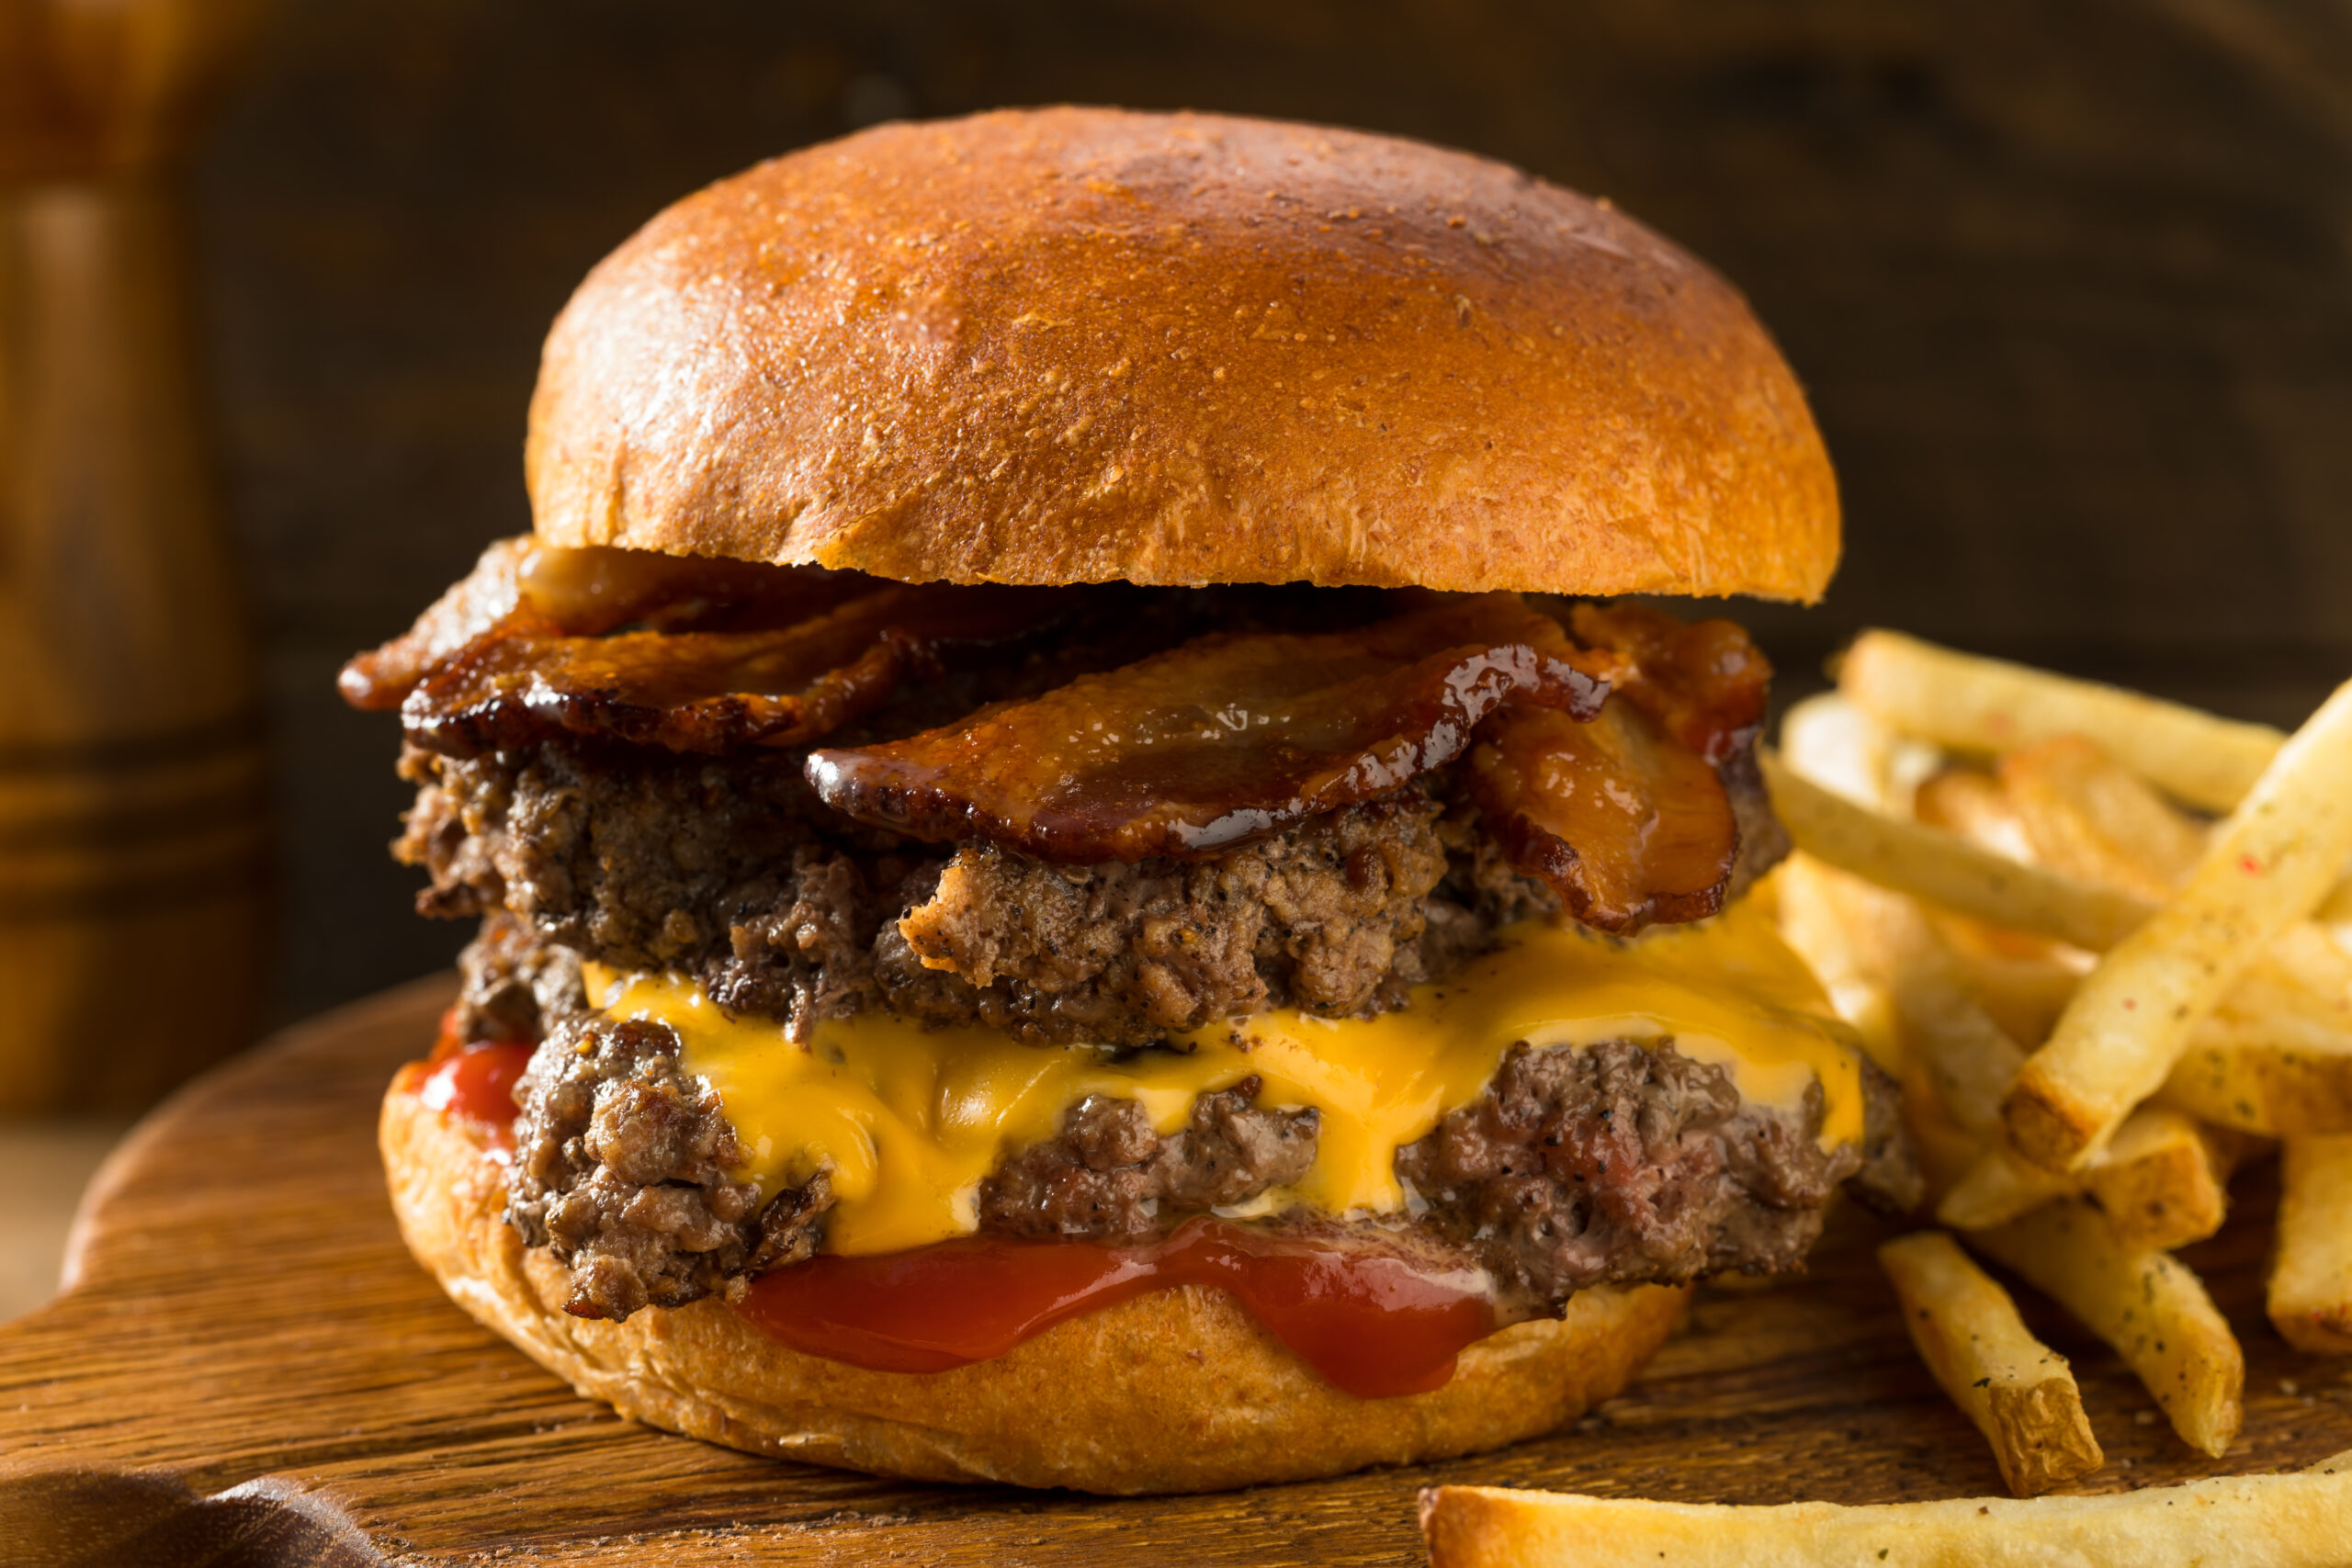
In the world of burgers, the debate between smash burgers and traditional burgers is as juicy as the patties themselves. While both have their loyal fanbases, understanding the differences can elevate your next burger experience.
From classic to innovative, burgers boast a rich history. The Smashburger technique yields a crispy patty with a juicy interior, while traditional burgers prioritize quality meat and diverse toppings. Whether you crave crispy excitement or juicy simplicity, both styles offer a delicious experience. Today, we delve into the distinct qualities of the Smashburger and the traditional burger, stirring debate among burger enthusiasts. Shall we explore this further?
Disclosure: As an Amazon Associate, this site earns from qualifying purchases. Thank you!
What Makes a Smashburger Unique?
Why do smashburgers steal the spotlight? It’s all about the technique. A ball of ground beef hits a scorching griddle and gets flattened—this is where the magic happens. Maximum heat contact delivers a thin, wide patty with a crispy, caramelized crust, a result of the Maillard reaction gone wild. This method ensures a juicy interior and crunch on the outside, setting the stage for a flavorful bite every time.
But it’s not just for looks—the Smash isn’t just a step, it’s the essence of the Smashburger. Quick cooking preserves moisture and intensifies flavor, while the expanded surface area ensures that coveted crunch. Toppings take a backseat, allowing the meat’s flavor to shine. Ready to up your grill game? Give smashing a try and elevate your burger to gourmet status.
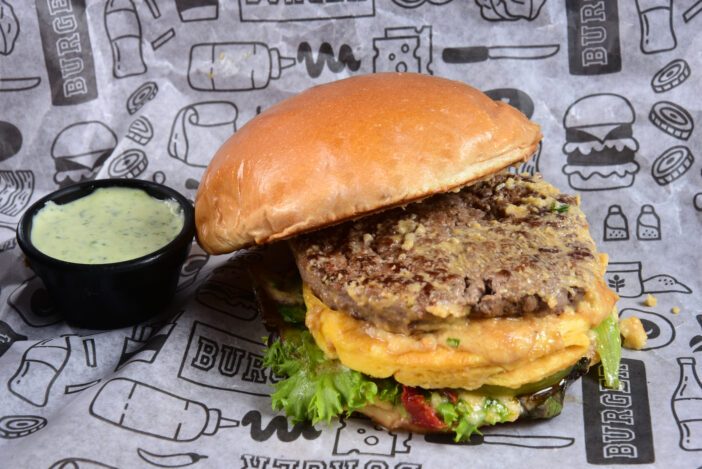
On the flip side, the traditional burger embodies the “if it ain’t broke” philosophy. Thick, juicy patties are gently cooked to retain moisture and flavor, showcasing the meat’s quality with minimal seasoning. Versatility is key—whether it’s classic cheese or a loaded ensemble of toppings, the traditional burger provides endless possibilities. Different meats and blends offer a customizable experience, from chuck to sirloin, rare to well-done. The traditional burger is a canvas for personal taste, inviting experimentation and satisfaction with every bite.
The Cooking Showdown: Grill Versus Griddle
Choosing between a Smashburger and a traditional burger isn’t just about the taste—it’s also about the cooking method. Let’s dive into how these cooking surfaces, the grill, and the griddle, affect your burger’s flavor, texture, and juiciness.
The Smashburger Technique
Ever wondered why Smashburgers are so crispy outside and juicy inside? It’s the griddle. Pressing ground beef onto a hot griddle creates a thin, wide patty, ensuring even cooking and maximum heat contact. This triggers the Maillard reaction, giving the burger its delicious flavor.
The use of a griddle for Smashburgers promotes a quick sear, locking in the juices and creating that crave-worthy crust. Moreover, because the patty is thin, it cooks quickly, ensuring that the outside is crispy while the inside remains tender and juicy. The uniform heat of a griddle also prevents hot spots, minimizing the risk of part of your burger being under or overcooked. For those looking to replicate this at home, consider using a cast iron skillet or a flat-top cooker to achieve that perfect Smashburger crust.
Traditional Burger Cooking Methods
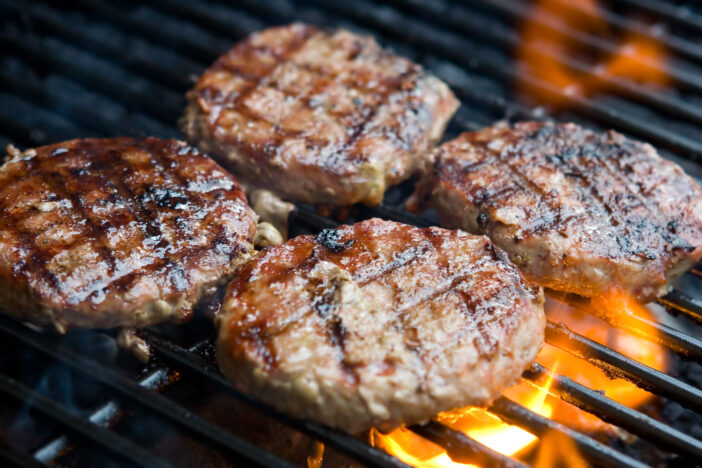
Traditional burgers thrive on the versatility of grilling, imparting a distinct smoky flavor that stovetop cooking can’t match. Mastering the grill’s heat zones is key to achieving succulent burgers—cook them over medium-high heat for a perfect sear while maintaining juiciness inside. Grilling offers room for experimentation with different meats, blends, and seasonings, enhancing flavor profiles. Utilizing direct and indirect heat zones allows for precise cooking, ensuring burgers are cooked through without sacrificing texture or flavor. While grill marks add visual appeal and flavor, avoid pressing burgers to retain their juices and prevent flare-ups.
Ingredients Face-Off: Simplicity Versus Complexity
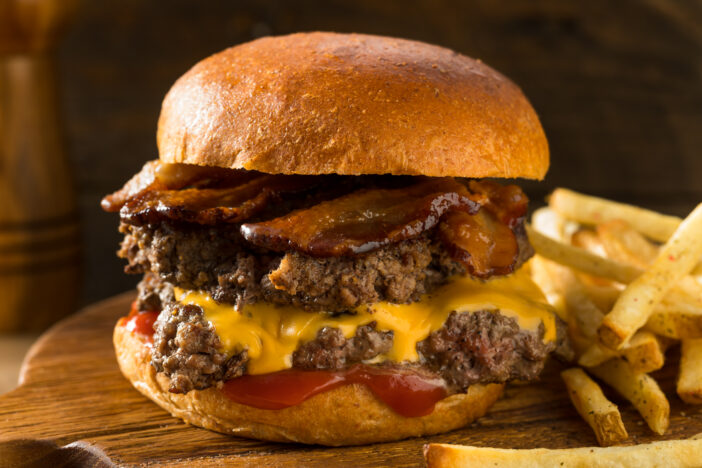
In the burger world, the showdown between Smashburgers and traditional burgers isn’t just about cooking methods—it’s a clash of ingredient philosophies. Are you drawn to simplicity or craving creative freedom in your burger? Let’s explore the ingredients face-off.
Smashburger
- Thrives on simplicity with key ingredients: high-quality ground beef (usually a chuck blend with 20% fat content), salt, and pepper.
- Cooking on a hot griddle creates a crispy, savory crust and a juicy, flavorful interior.
- The smashing technique enhances the Maillard reaction, amplifying the burger’s distinctive flavor.
- Classic toppings like American cheese, thinly sliced onions, and pickles complement the basic flavors without overwhelming them.
- Typically served on a soft potato roll, allowing each ingredient to shine and showcase the beef’s rich flavor.
Traditional Burger
- Offers culinary creativity starting with various meat blends like sirloin, brisket, and short rib for depth of flavor and texture.
- Seasonings range from classic salt and pepper to elaborate spice mixes and herbs.
- Opens up a world of possibilities for toppings, from blue cheese to barbecue sauce, and artisanal buns like brioche or sourdough.
- Typically grilled, adding a smokier flavor profile and complexity.
- The grill’s open flame introduces a char and nuance, enhancing the burger’s flavors.
Why Some Prefer Smashburgers Over Traditional Burgers
When it comes to choosing between Smashburgers and traditional burgers, many find themselves drawn to the distinctive taste and texture of Smashburgers. But what exactly sets them apart? Let’s dive into some key reasons that might sway your preference.
The Crust Factor: Texture and Taste
Imagine sinking your teeth into a burger and experiencing an immediate burst of crispy, flavorful crust that sends your taste buds into a frenzy. That’s the magic of a Smashburger. Smashing the burger onto a hot griddle not only creates a thin patty but also boosts its surface area, leading to enhanced caramelization through the Maillard reaction. This culinary phenomenon yields a rich, multi-layered flavor profile and a satisfyingly crispy texture that’s challenging to achieve with traditional, thicker burgers grilled outdoors.
Think of the crust on a Smashburger as akin to the crispy edges of a perfectly baked brownie. Just as those edges offer a delightful contrast to the soft center of the brownie, the crispy exterior of a Smashburger delivers a delightful crunch that perfectly complements its juicy interior. It’s this harmonious blend of textures that elevates Smashburgers to a favorite among those who crave an extra bite in their burger experience.
Speed and Efficiency in the Kitchen
In today’s fast-paced world, the appeal of a meal that’s both delectable and quick to prepare is undeniable. Smashburgers shine not only in flavor but also in their speed and efficiency of cooking. Unlike traditional burgers, which may necessitate preheating a grill and longer cooking times, Smash burgers are ready in just a matter of minutes.
Thanks to their thin profile, Smashburgers cook through rapidly, offering a swift meal without compromising on taste. This makes them an ideal choice for hectic weeknights or any time you’re seeking burger satisfaction with minimal effort. Moreover, cooking Smashburgers doesn’t demand specialized equipment beyond a sturdy spatula and a griddle or heavy pan, rendering this cooking technique accessible to all.
The choice between Smashburgers and traditional burgers often comes down to personal preference. While some may be drawn to the smoky aroma and adaptability of traditional burgers, others find themselves enamored with the crispy, flavorful crust and swift cooking time of Smashburgers. If you fall into the latter category, these factors likely weigh heavily in your preference. So, why not fire up the griddle and indulge in the unique allure of a delightfully crispy Smashburger tonight?
How to Make Your Smashburger
In the video, Tasty explains –
Tasty
- Quick caramelized onions: Chef Joe opts for a fast method for caramelizing onions, aiming for texture rather than breaking them down slowly.
- Secret spread: Joe’s spread includes pickles, chili paste, black garlic or ketchup, mayo, mustard, salt, black pepper, and sugar for balance.
- Meat mixture: He combines ground beef with dry-aged ribeye for his patties, seasoned evenly for consistent flavor.
- Patty shaping: Joe doesn’t stress precision when shaping patties, leaving them in large rounds for smashing.
- Smash technique: The key to a smash burger is letting it develop a golden brown exterior before smashing it thin in the pan.
- Well-done preference: Due to the thinness of the burgers, they end up well-done, which is intentional for this style.
- Component assembly: Joe likes assembling all the components separately before bringing them together.
- Steam bun twist: Instead of traditional buns, Joe uses steam to soften the burger’s exterior.
- Layering technique: He strategically places onions before the last slice of cheese to help hold them in place.
- Finishing touch: Joe finishes the burgers by gently placing them back in the pan with beef drippings, adding a bit of water to create steam, resulting in a flavorful final product.
Ready to dive into the crispy, juicy world of Smashburgers right in your kitchen? If you’ve been intrigued by the unique texture and flavor profile of Smashburgers as compared to traditional burgers, making your own is easier than you might think. Let’s break down the process.
Essential Tools and Ingredients
First things first, let’s gather what you’ll need to craft the perfect Smashburger. It’s not just about the beef; the right tools and ingredients play a pivotal role in getting that crispy exterior and juicy interior.
- High-Quality Ground Beef: Opt for an 80/20 blend of ground beef for optimal fat content, which is crucial for that juicy, flavorful patty.
- Cast Iron Skillet or Griddle: A heavy-duty cooking surface that retains and distributes heat evenly will give you that perfect sear.
- Sturdy Metal Spatula: This is essential for smashing the patty down firmly and quickly.
- Parchment Paper: To prevent sticking and ensure a smooth smash.
- Seasonings: Keep it simple with salt and pepper to enhance the natural flavors of the beef.
- Toppings and Extras: Toasted brioche buns, your favorite cheese (American melts beautifully), and classic condiments like ketchup, mustard, and pickles.
Have you got everything? Great! Let’s move on to the fun part.
Step-by-Step Guide to the Perfect Smash
Achieving the iconic Smashburger requires more than just squishing beef on a pan; it’s an art and a science. Here’s how to do it:
- Preheat Your Cooking Surface: Get your skillet or griddle smoking hot. This high heat is non-negotiable for achieving that sought-after sear.
- Shape Your Beef: Divide your beef into 2-3 ounce balls. Don’t pack them too tightly; a loose pack results in a better texture after smashing.
- Time to Smash: Place a ball of beef on the griddle, cover it with parchment paper, then use your spatula to smash it down flat, aiming for about 1/3-inch thickness. This thinness is key for maximizing crispy edges.
- Season: Sprinkle salt and pepper on the patty right after smashing. This simple seasoning will significantly amplify the beef’s natural flavors during cooking.
- Sear It: Let the patty cook without moving it for about 2-3 minutes. You’re looking for a deep brown crust. That’s where the magic is!
- Flip and Cheese: Carefully flip the patty over, add a slice of cheese, and let it melt while the second side gets crispy. This should take about 1 minute.
- Assemble: Place your crispy, cheesy patty on a toasted brioche bun and add your preferred toppings and condiments.


