5 Steps Homemade Bacon Recipe: Enjoy Delicious Bacon at Home
Craft your own delicious bacon by following these 5 easy steps: prepare the pork belly, cut it into strips, optionally season it, wrap and store, then slice and cook to perfection.
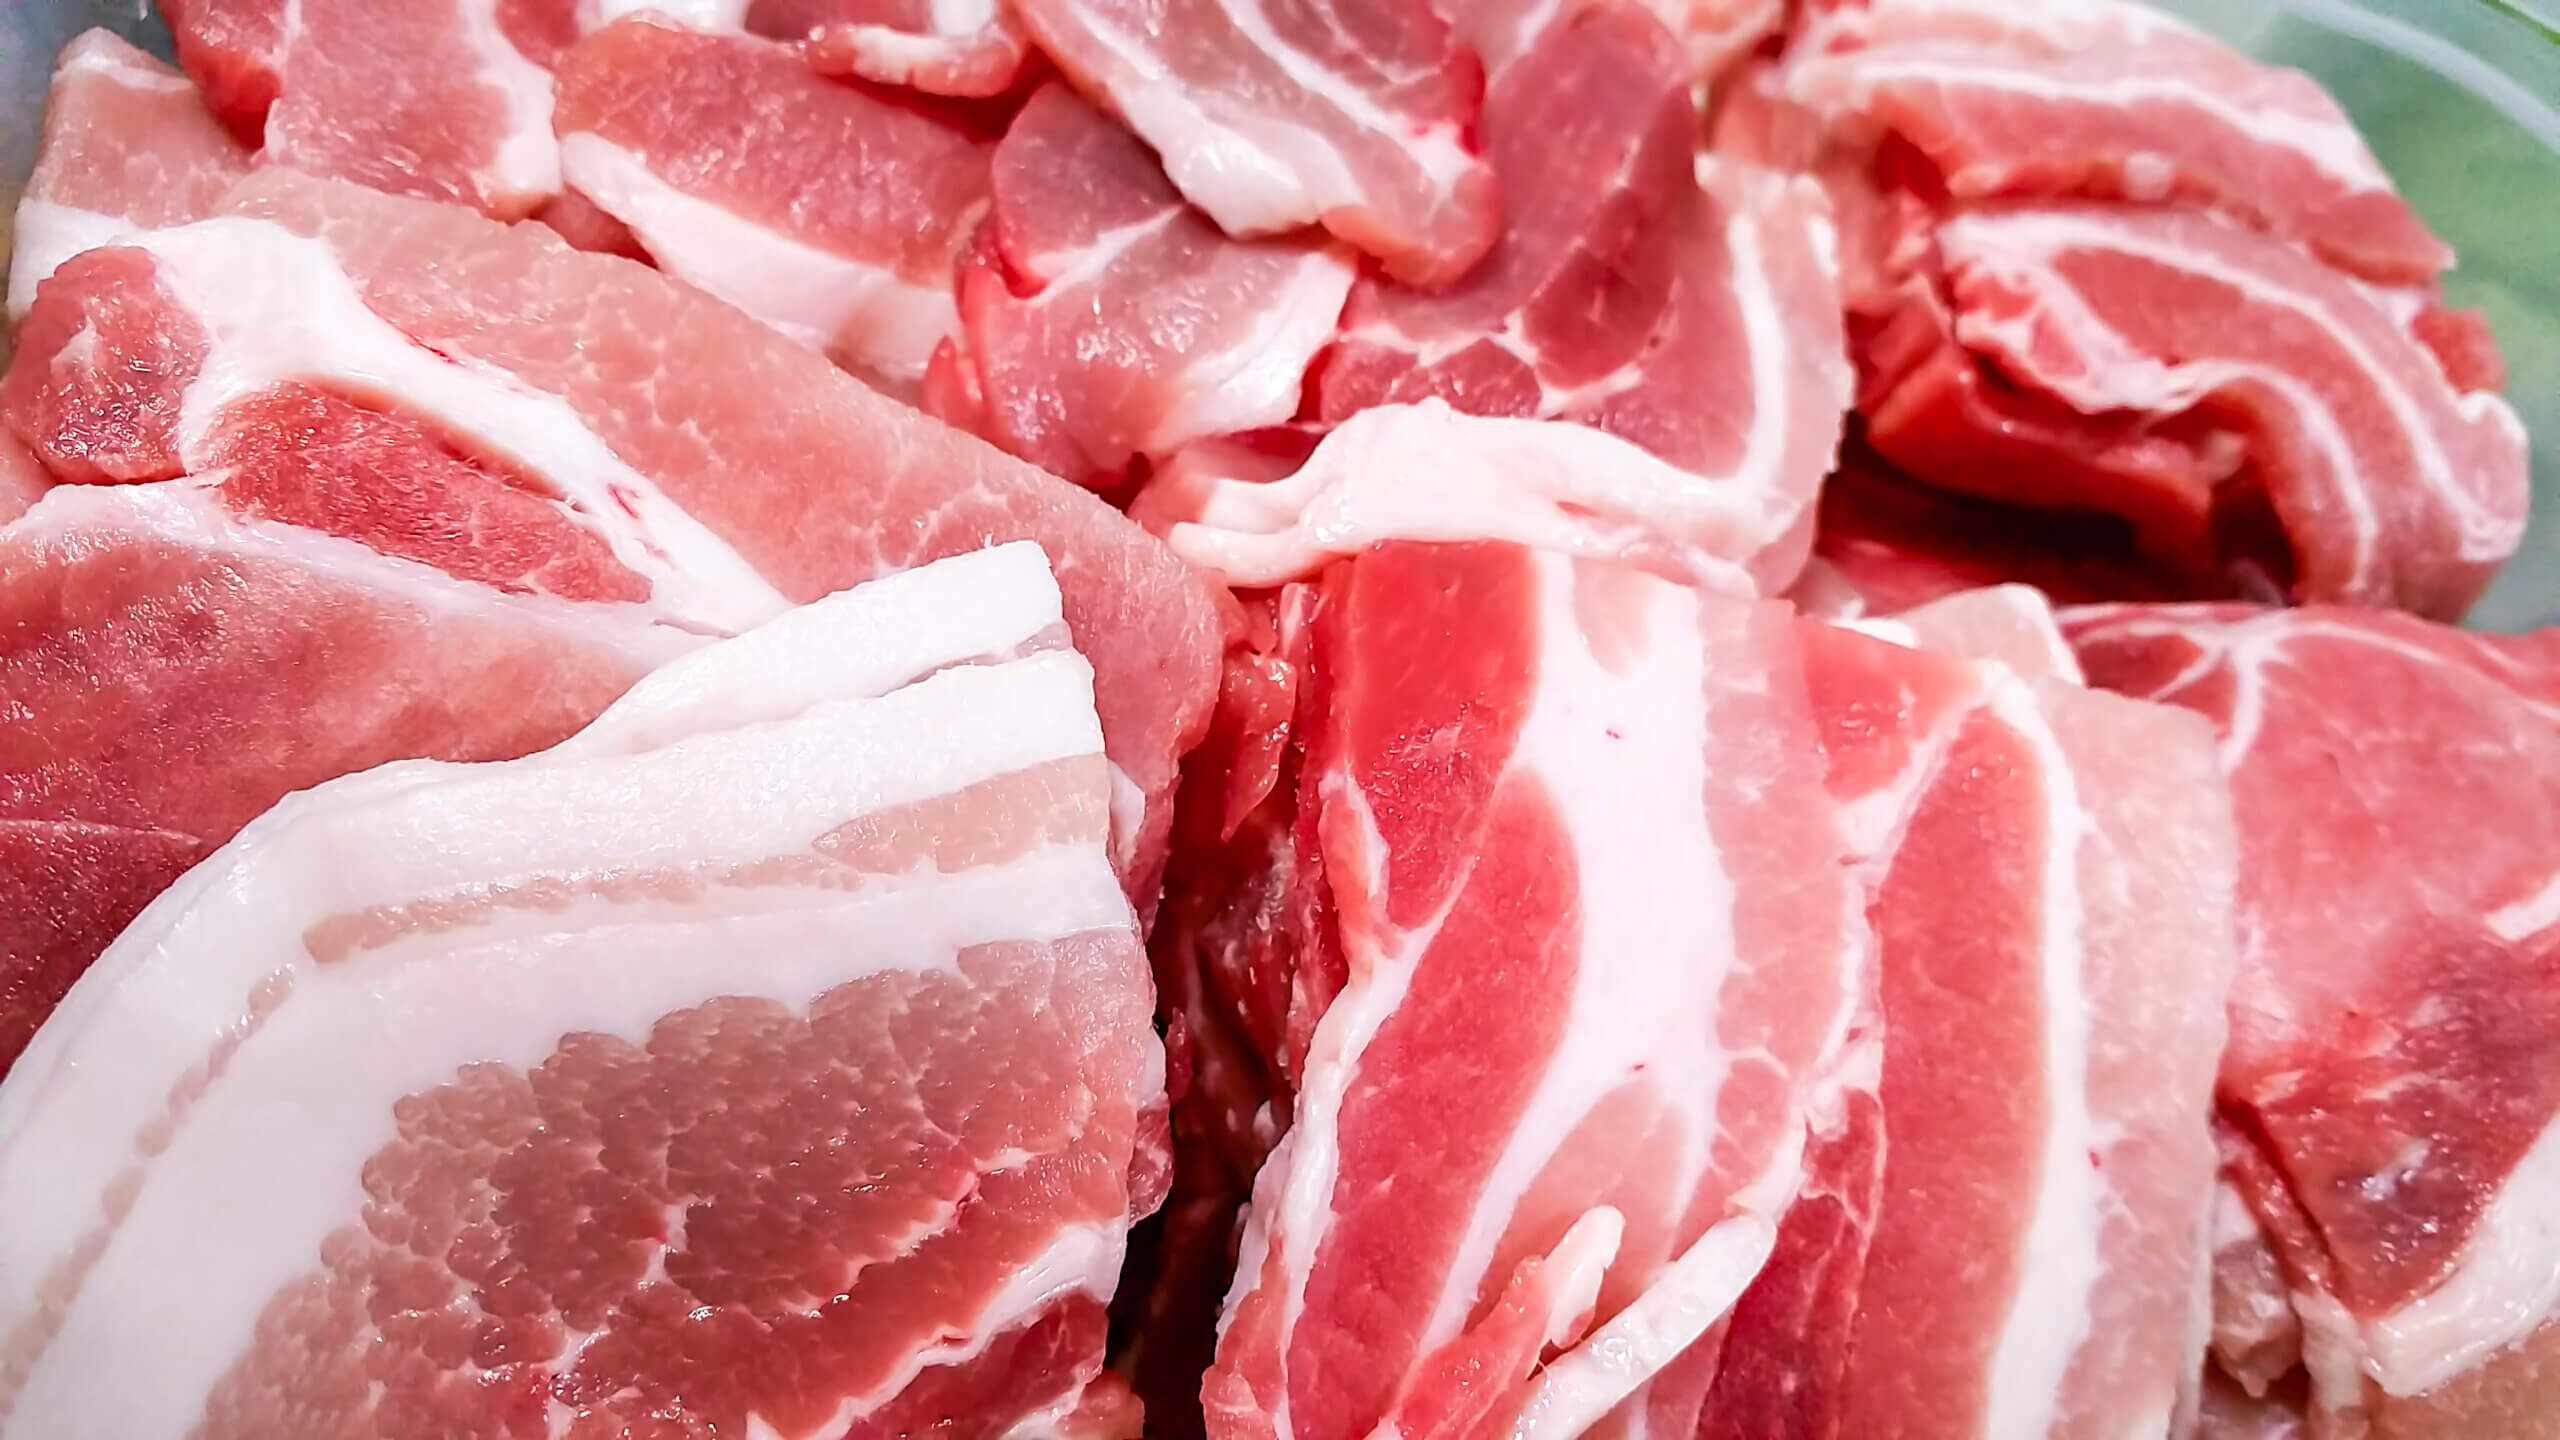
Bacon’s smoky, salty allure is irresistible to many, often starring in breakfasts and various dishes. But imagine crafting your own bacon from a pork belly slab. In this blog post, we’ll guide you through turning pork belly into savory, homemade bacon, detailing the preparation, slicing, and cooking steps.
Disclosure: As an Amazon Associate, this site earns from qualifying purchases. Thank you!
Step 1. Prepare the Pork Belly
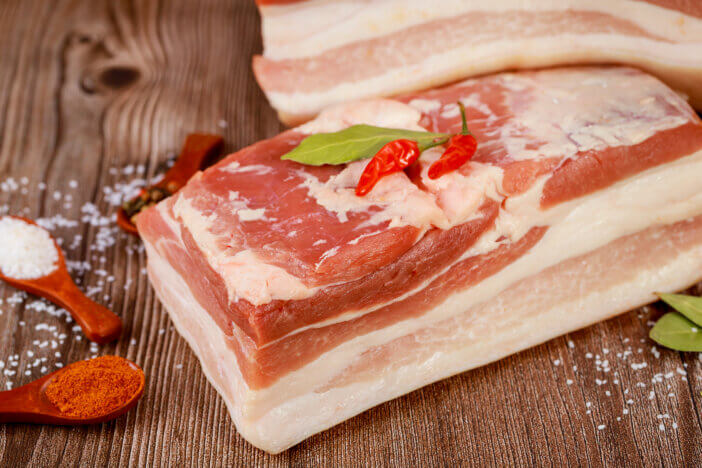
To make bacon, start by selecting a high-quality pork belly, ideally from heritage breeds like Berkshire or Duroc from local farmers or butchers for better taste and texture, as this will significantly influence your bacon’s flavor.
Once you’ve sourced your pork belly, it’s time to prepare it for curing. This involves removing any excess skin and connective tissue. Using a sharp fillet knife, carefully remove the skin from the pork belly, leaving as much fat as possible. Don’t rush this process; a slow and steady pace will help ensure you don’t accidentally cut off too much fat. Once the skin is removed, don’t throw it away! It can be used to make a delicious batch of chicharrones (fried pork rinds).
Step 2. Cut the Pork Belly into Strips
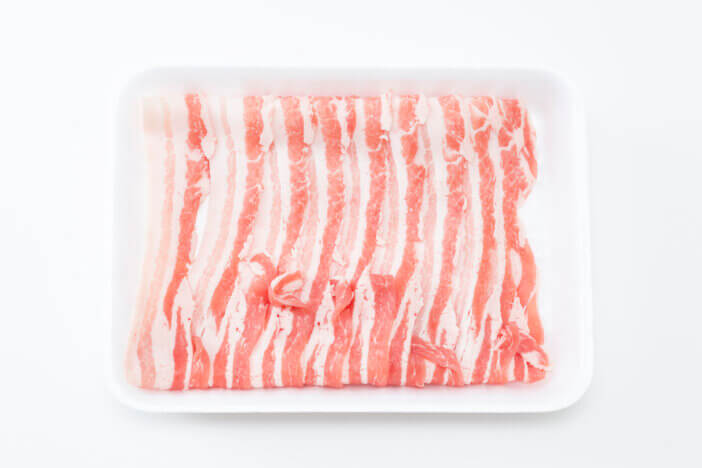
After prepping the pork belly, the next step is to cut it into strips. This can be a daunting task, especially if you’re dealing with a large slab of pork belly. The key is to divide the pork belly into manageable sizes – typically around five pounds each. These smaller sections are easier to handle and fit more comfortably in your refrigerator or smoker.
When cutting the pork belly into strips, aim for a thickness that suits your preference. Some people prefer their bacon thick-cut, while others prefer thinner slices. A good rule of thumb is to cut your strips about 1/4-inch thick for regular bacon, and up to 1/2-inch thick for thick-cut bacon. No matter how you prefer your bacon, make sure to cut your strips as evenly as possible to ensure they cook evenly.
Step 3. Season the Bacon (optional)
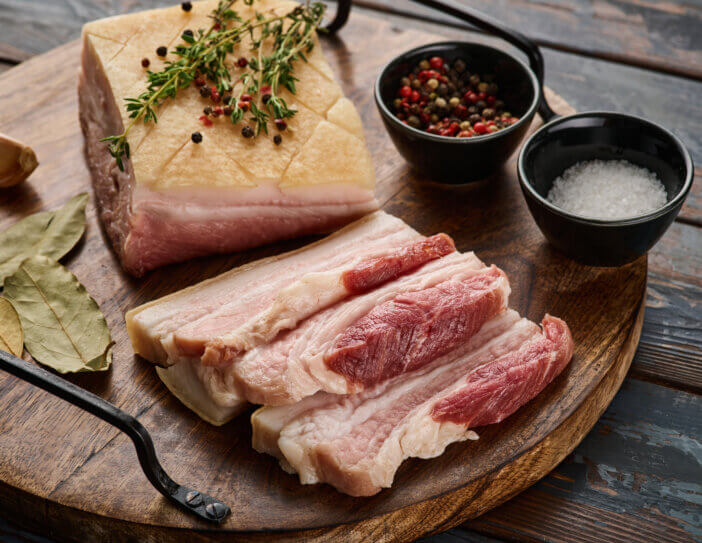
Now that your pork belly is prepared and cut into strips, you have the option to season your bacon. While this step is optional, adding extra flavor to your bacon can take it to new heights of deliciousness.
To season your bacon, consider using a mix of sugar and salt dissolved in warm water. You can also add a dash or two of liquid smoke for that classic smoky bacon flavor. Make sure to rub the seasoning mixture all over the pork belly strips, ensuring every inch is coated. Once seasoned, let the pork belly sit in the refrigerator for at least a few hours to allow the flavors to penetrate the meat.
Step 4. Wrap and Store
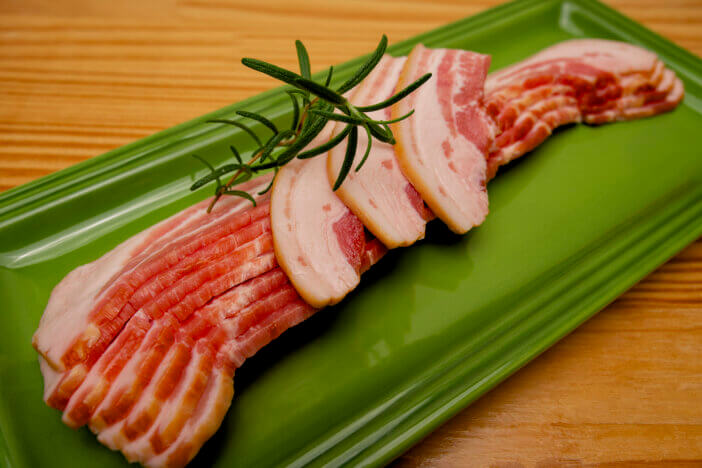
After seasoning, it’s time to wrap and store your bacon. Wrapping the bacon tightly in plastic wrap helps to seal in the flavors and prevent any unwanted odors from permeating the meat.
For the best results, refrigerate your wrapped bacon for at least four hours, preferably overnight. This rest period allows the flavors to fully develop and the texture of the bacon to set. After resting, the bacon is ready to be sliced and cooked, or it can be stored in the refrigerator for up to a week or frozen for longer storage.
Step 5. Slice and Cook
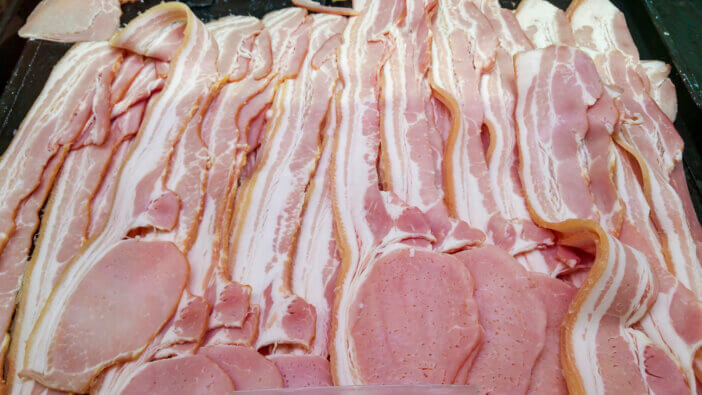
The final step in making your own bacon is to slice and cook it. Slicing your bacon is largely a matter of personal preference. Some people prefer their bacon cut thin and crispy, while others prefer it thick and chewy. No matter how you prefer your bacon, the key is to slice it as evenly as possible to ensure it cooks evenly.
To achieve thin, even slices, use a sharp knife and a steady hand. Remember, the thinner the slice, the crispier the bacon will be when cooked. Once your bacon is sliced, it’s ready to be cooked. Cooking homemade bacon is much like cooking store-bought bacon; simply heat a pan over medium heat, add the bacon slices, and cook until crispy and golden brown. Remember to turn the bacon occasionally to ensure it cooks evenly on both sides.


